 Image 1 of 8
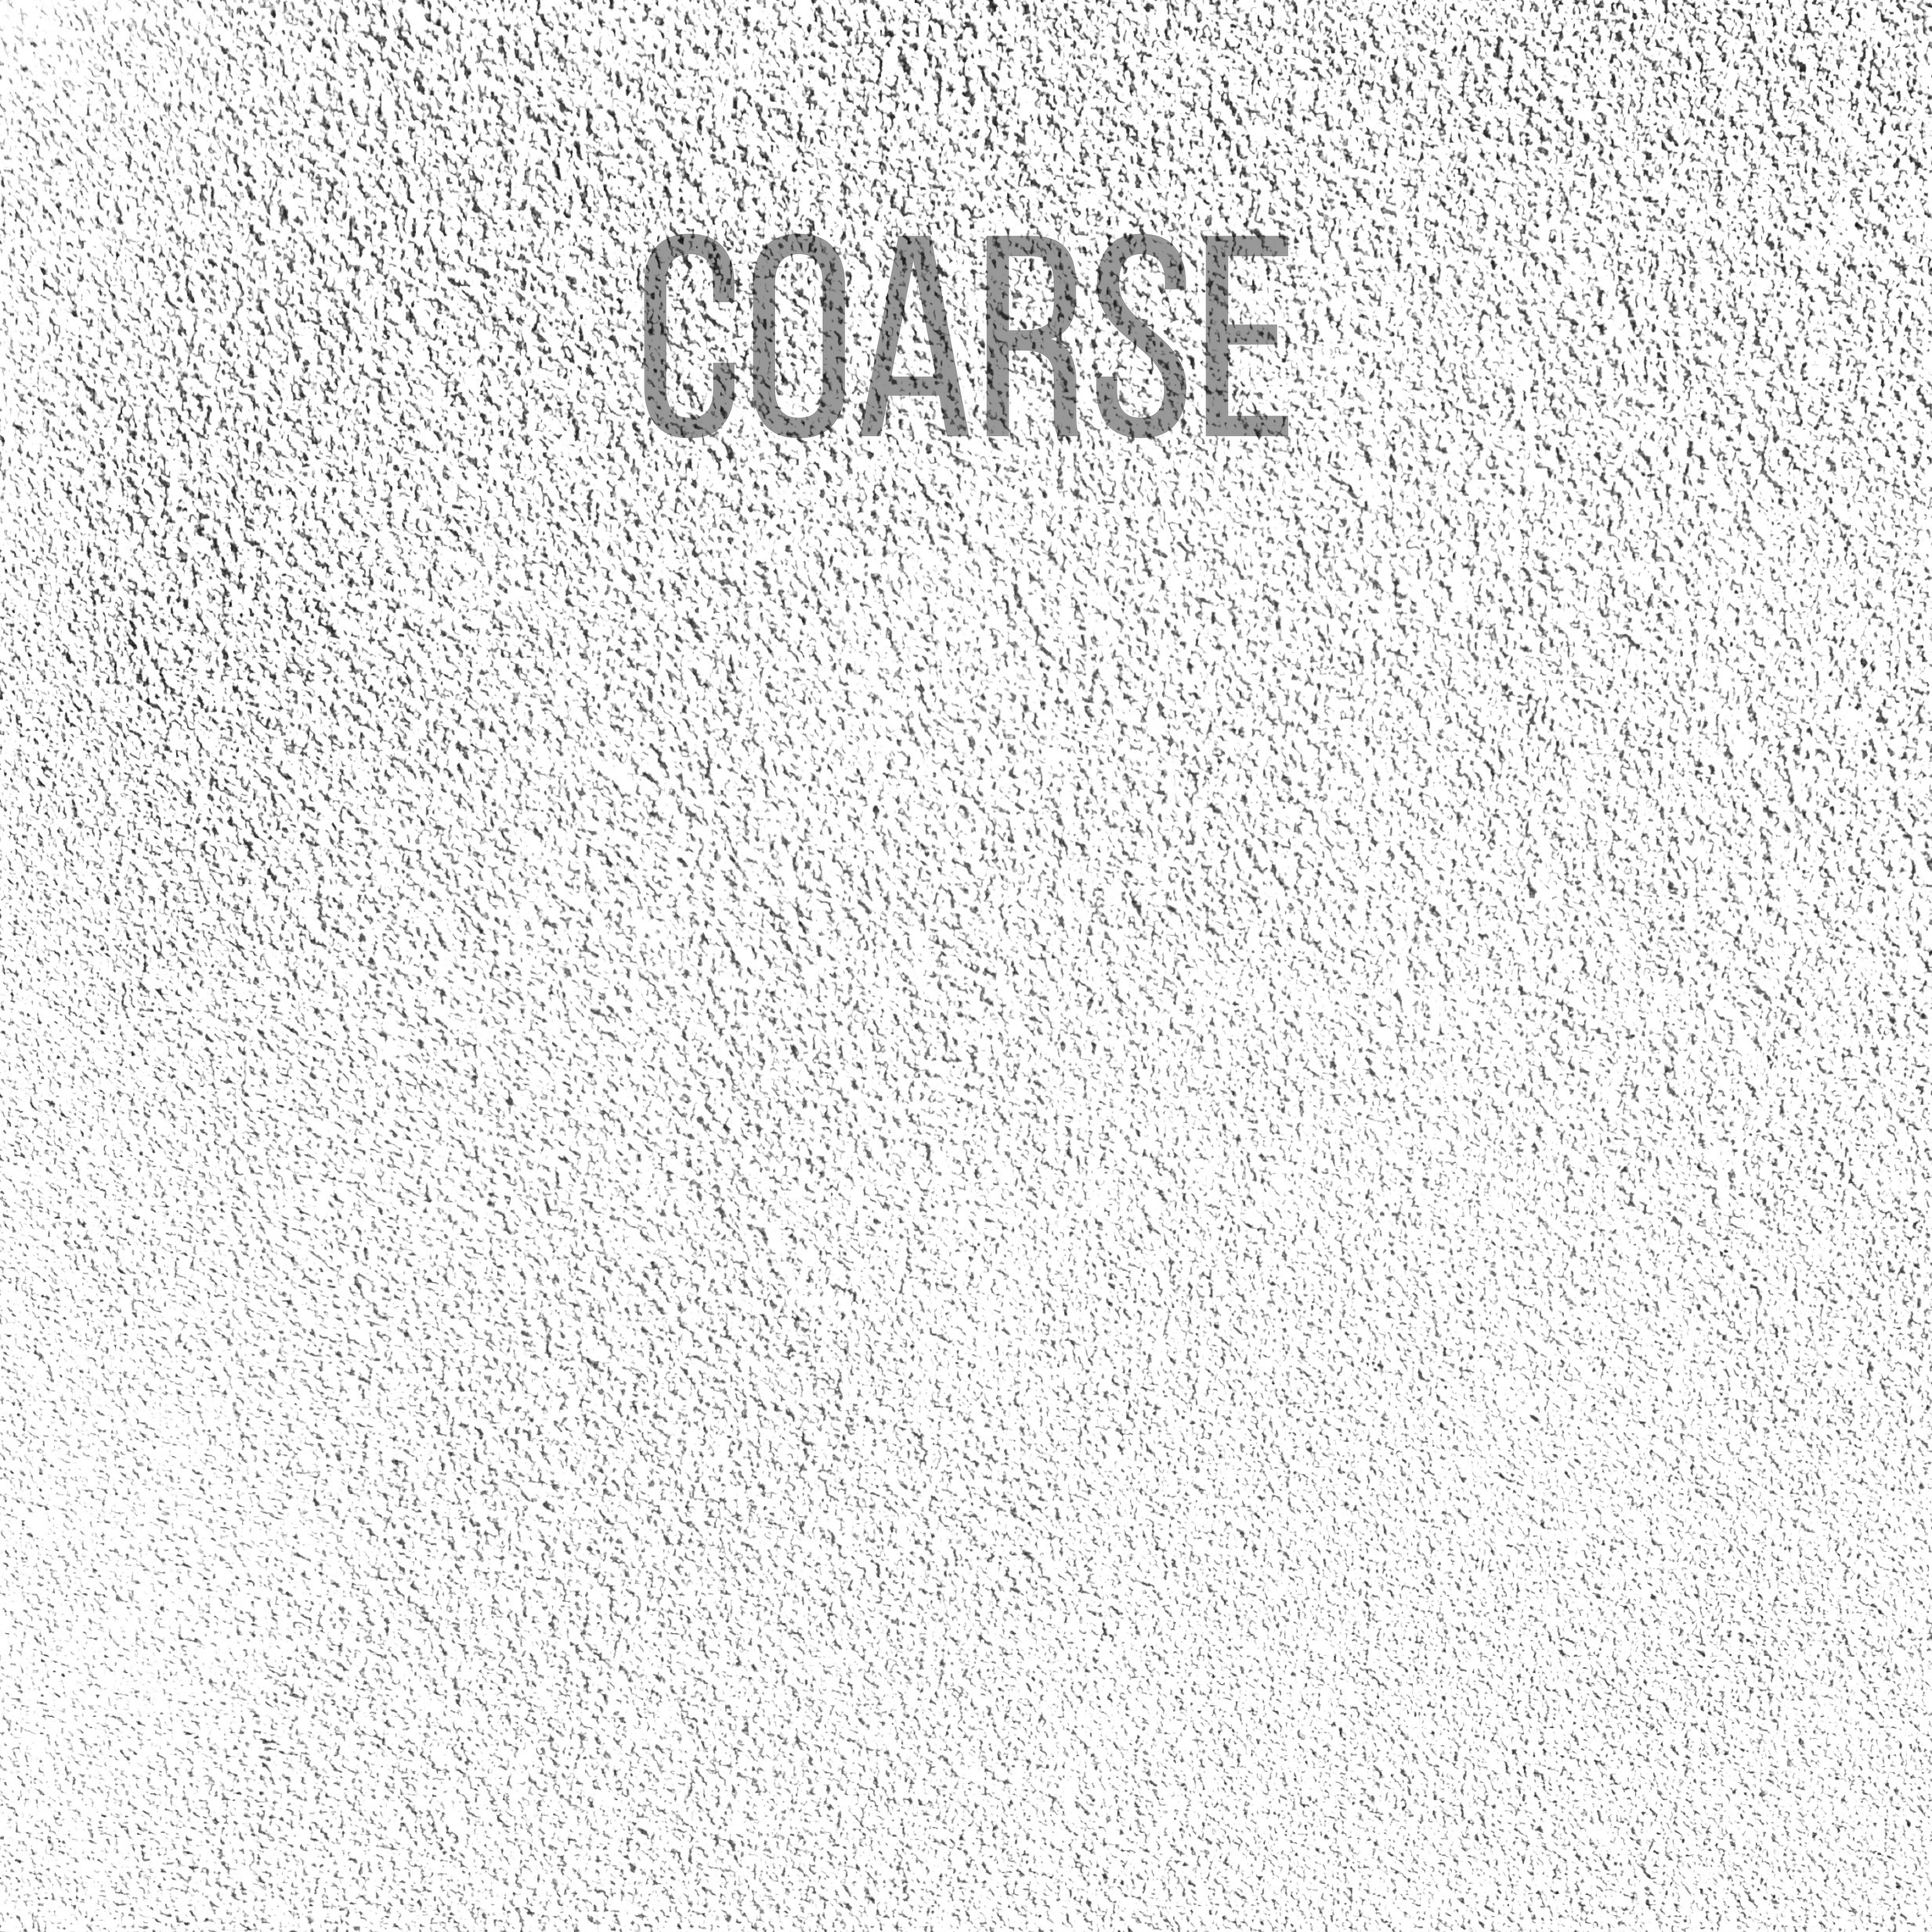 Image 2 of 8
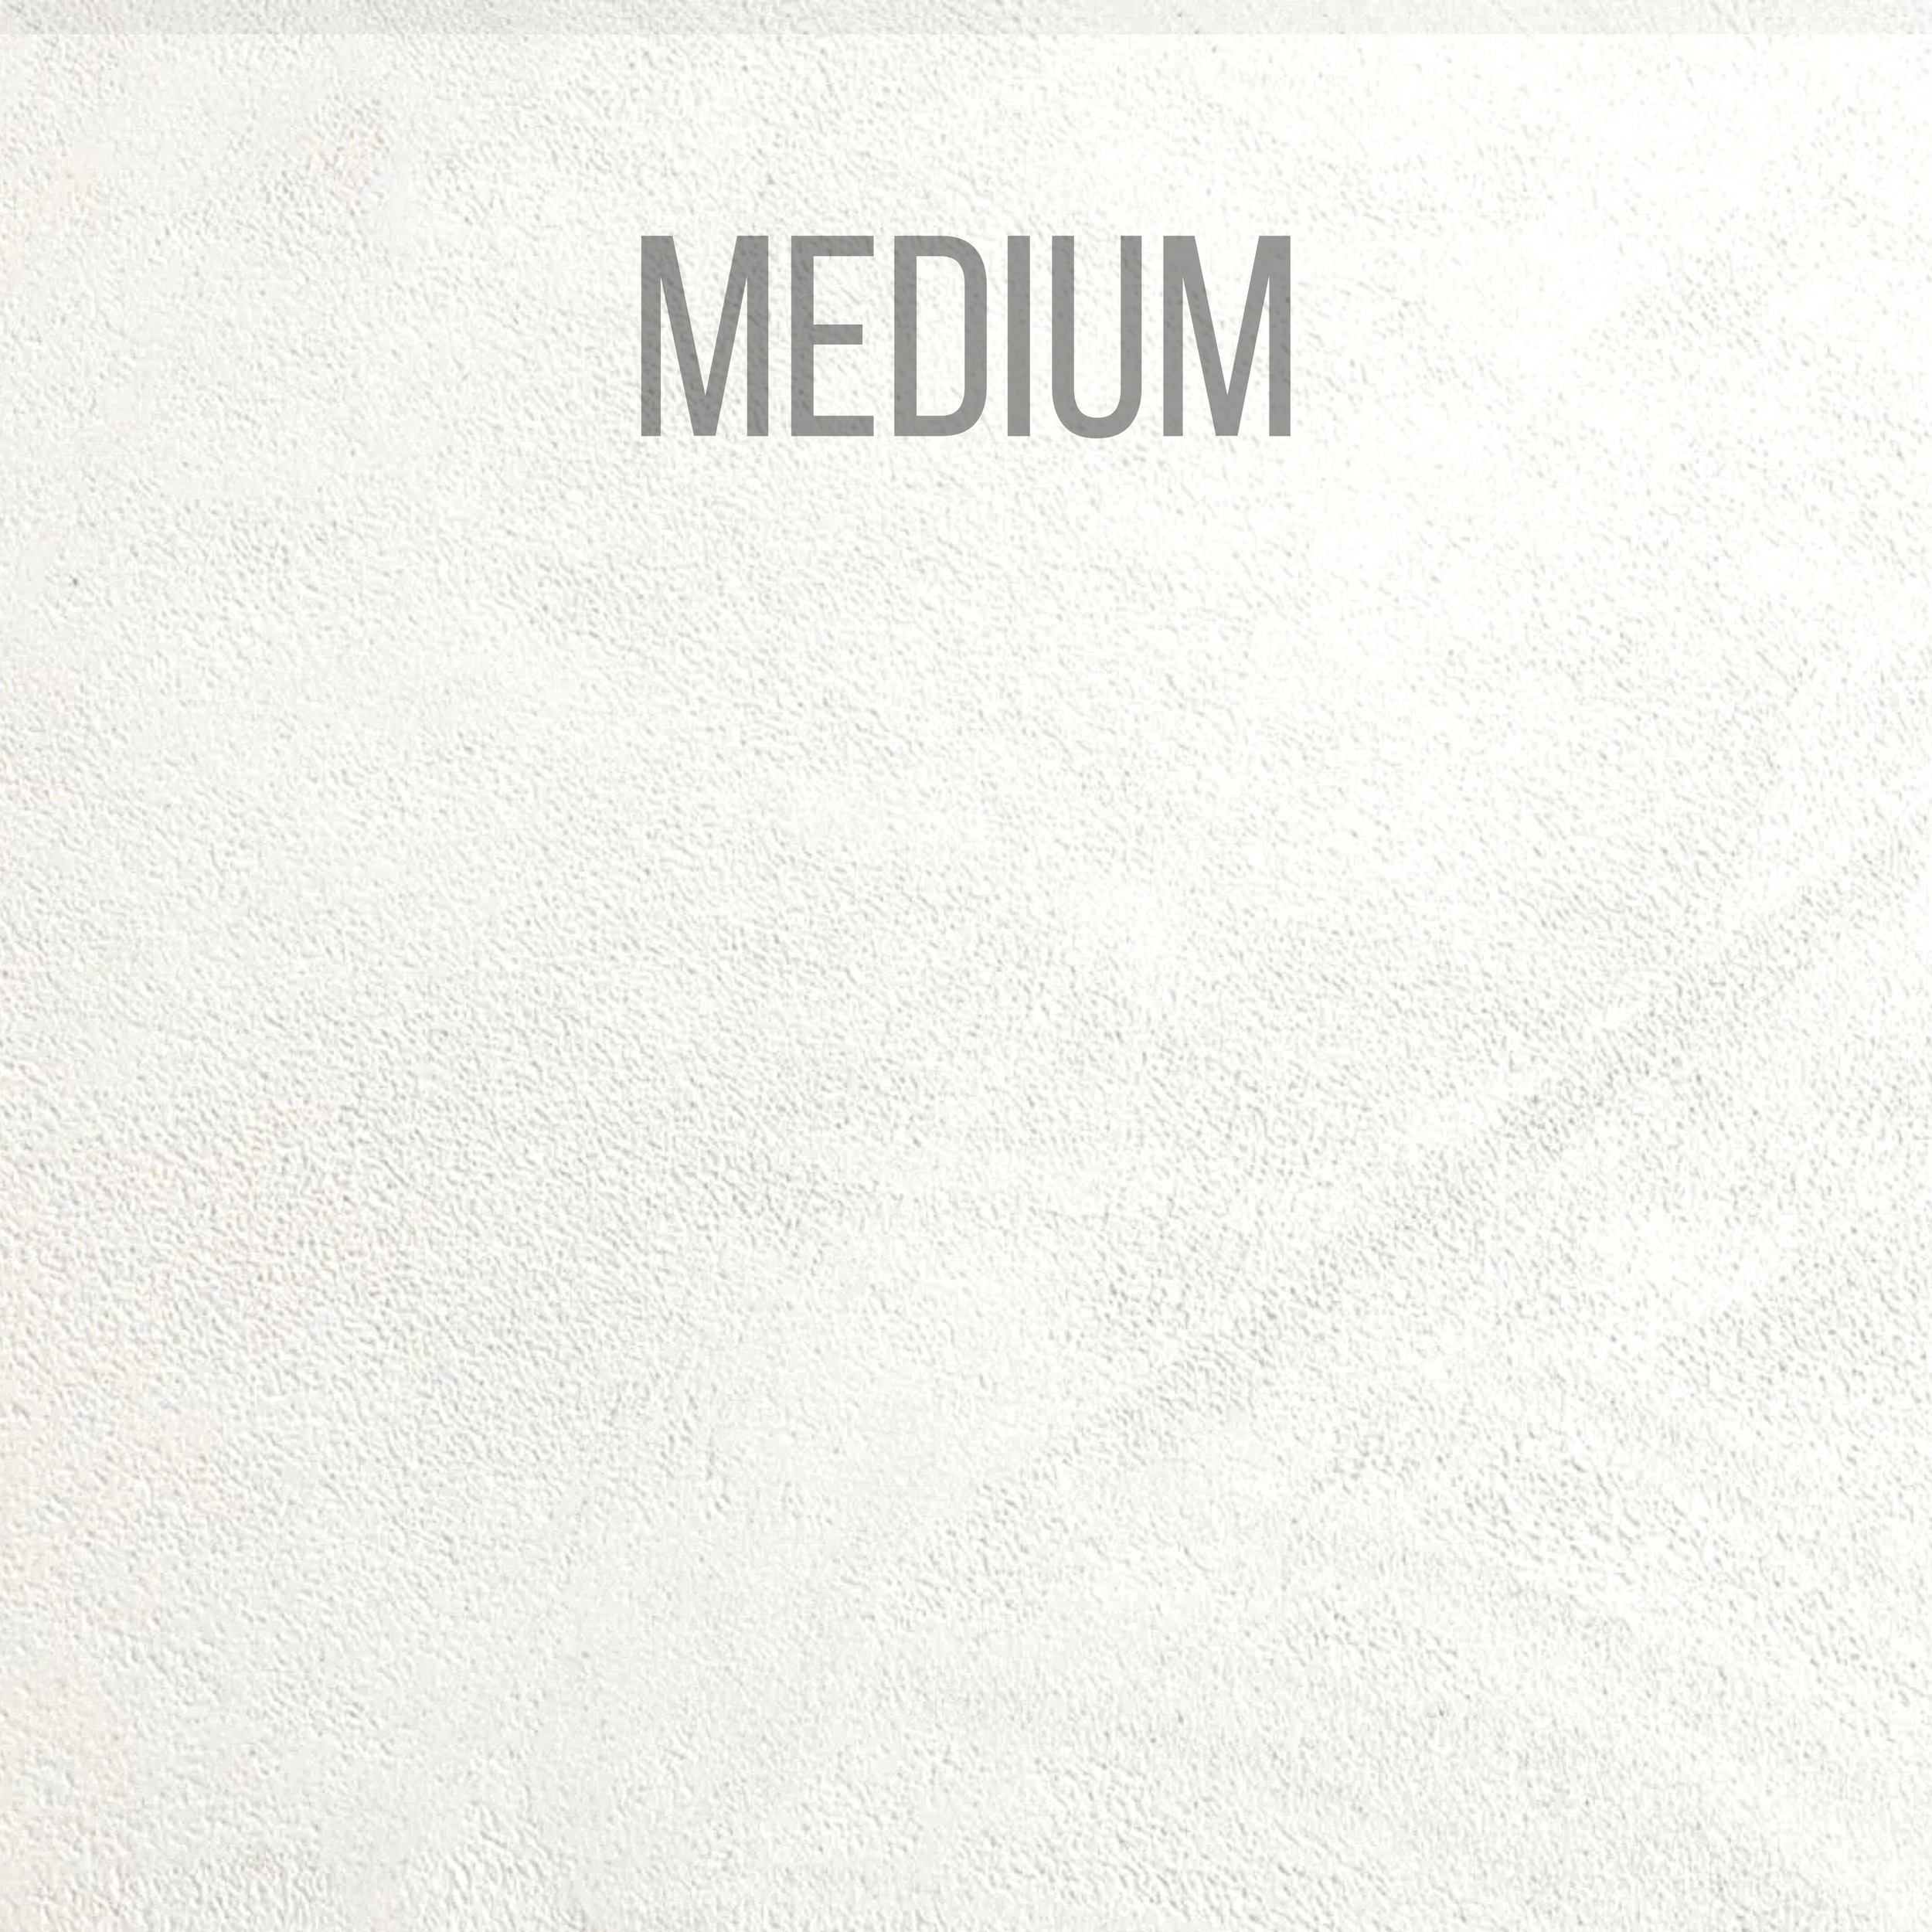 Image 3 of 8
 Image 4 of 8
 Image 5 of 8
 Image 6 of 8
 Image 7 of 8
 Image 8 of 8
Select Your Perfect Microcement DIY Kit – Waterproof, Standard


Transform Your Space with Modern Microcement Solutions!

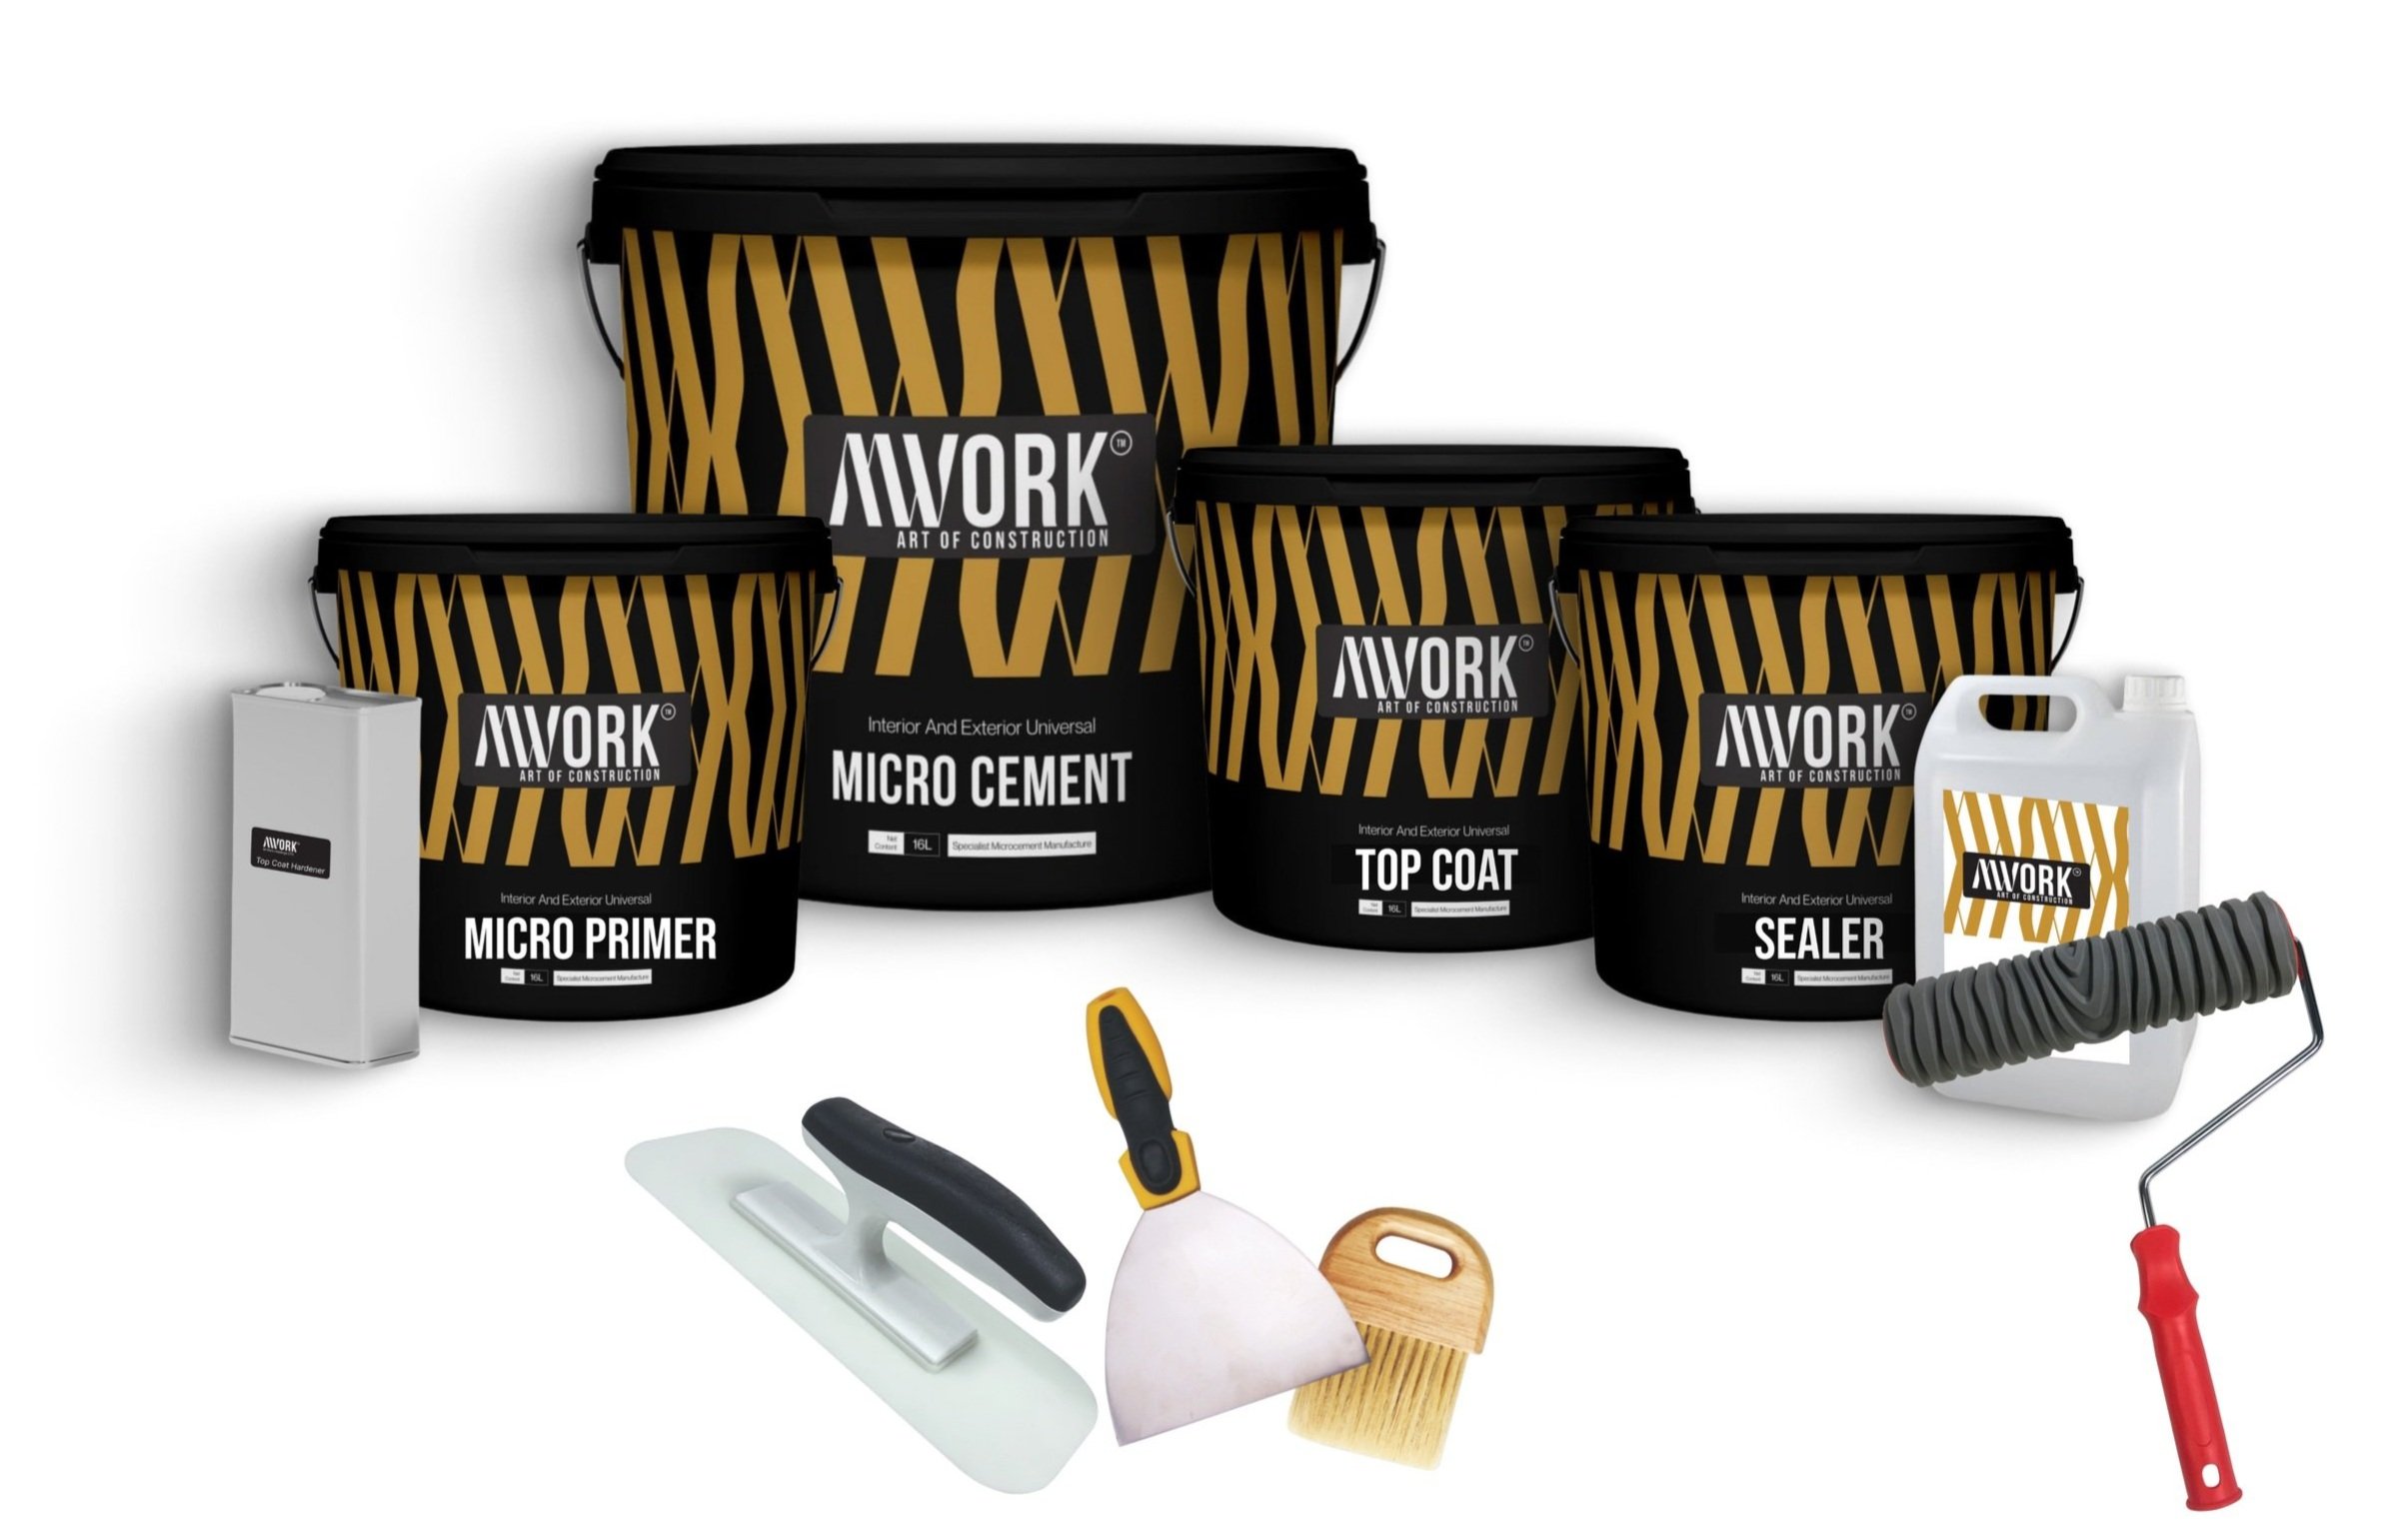
Waterproof Kit
Ideal for: Bathrooms, showers, countertops, furniture coatings, outdoor spaces, and other wet areas.
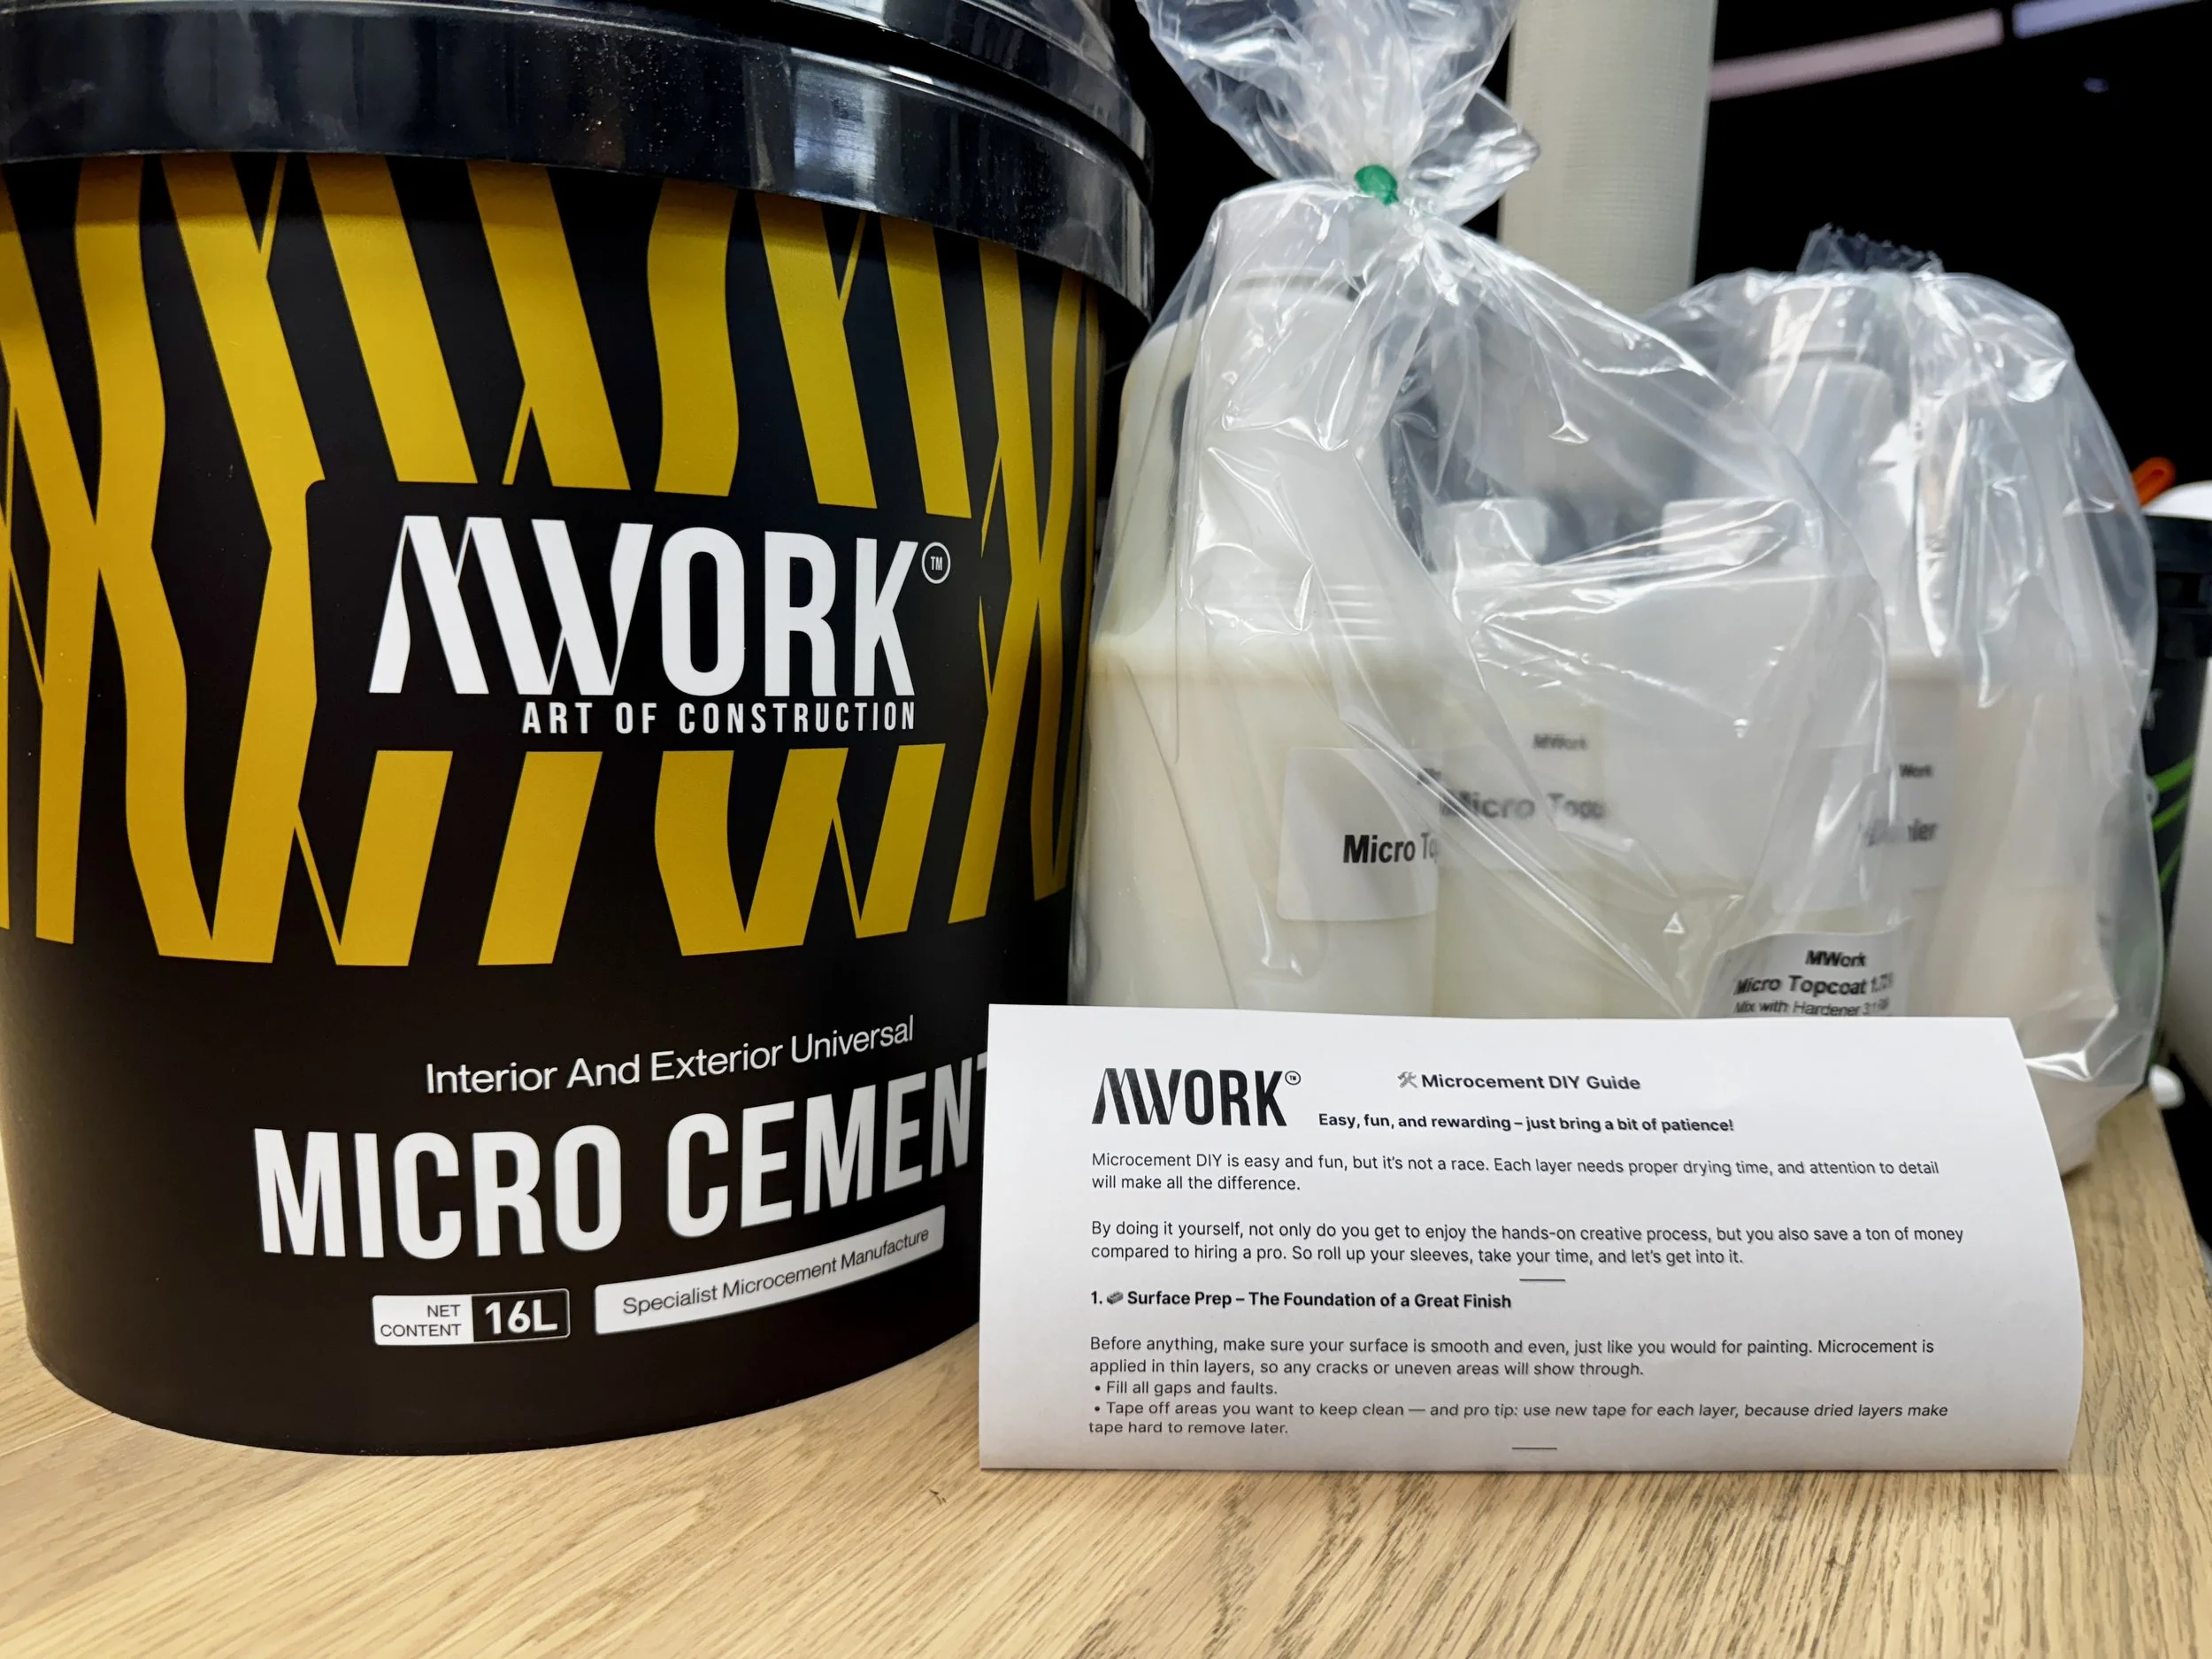
Includes: This kit includes Micro Primer, Mesh, Microcement for two coats (three coats for floors), Sealer, and Topcoat.
Price: $6.60/Sq.Ft. (walls & ceilings), $7.60/Sq. Ft. (floors) Add separately to cart if needed.

Standard Kit
Ideal for: Bedrooms, feature walls, fireplace and decorative applications.
Includes: Micro Primer, Microcement and sealer for two coats.
Price: $3.60/Sq.Ft.
What You’ll Find on This Page
- Choose your color, texture, kit type, and coverage. Order with ease.
- Optional tools and accessories to complete your project.
- Step-by-step instructions to apply like a pro and save big.
- Real projects by customers and professionals.
- Common questions answered or contact us directly.
Microcement DIY Guide
Easy, fun, and rewarding – just bring a bit of patience!
Microcement DIY is easy and fun — but it’s not a race. Each layer needs proper drying time, and attention to detail will make all the difference. By doing it yourself, not only do you get to enjoy the hands-on creative process, but you also save a ton of money compared to hiring a pro. So roll up your sleeves, take your time, and let’s get into it.
- Wear gloves, safety goggles, and a mask while mixing, sanding, and applying products.
- Ensure good ventilation in your working area. If indoors, open windows or use exhaust fans.
- Avoid contact with eyes, skin, and mouth. Do not ingest any material.
- Keep all materials out of reach of children and pets.
- Wash hands thoroughly after use.
- Do not dispose of mixed or leftover product in household drains. Follow local waste disposal regulations.
- If irritation occurs or product is accidentally ingested, seek medical attention immediately.
- Ensure the surface is clean and free of dust, oil, and debris.
- Fill any holes or cracks with the appropriate filler (cement-based for concrete, drywall filler for drywall, etc.).
- The surface must be smooth, flat, and completely dry.
- Use masking tape to protect edges, corners, and areas you don’t want coated.
- Masking tape
- Cotton roller (for primer, sealer, and topcoat)
- Trowel + scraper (for microcement)
- Sandpaper (grit 80 to 220)
- Mixing bucket + paddle or spatula
- Cut fiberglass mesh to size and lay it flat on the surface. (Skip this step for Standard Kit)
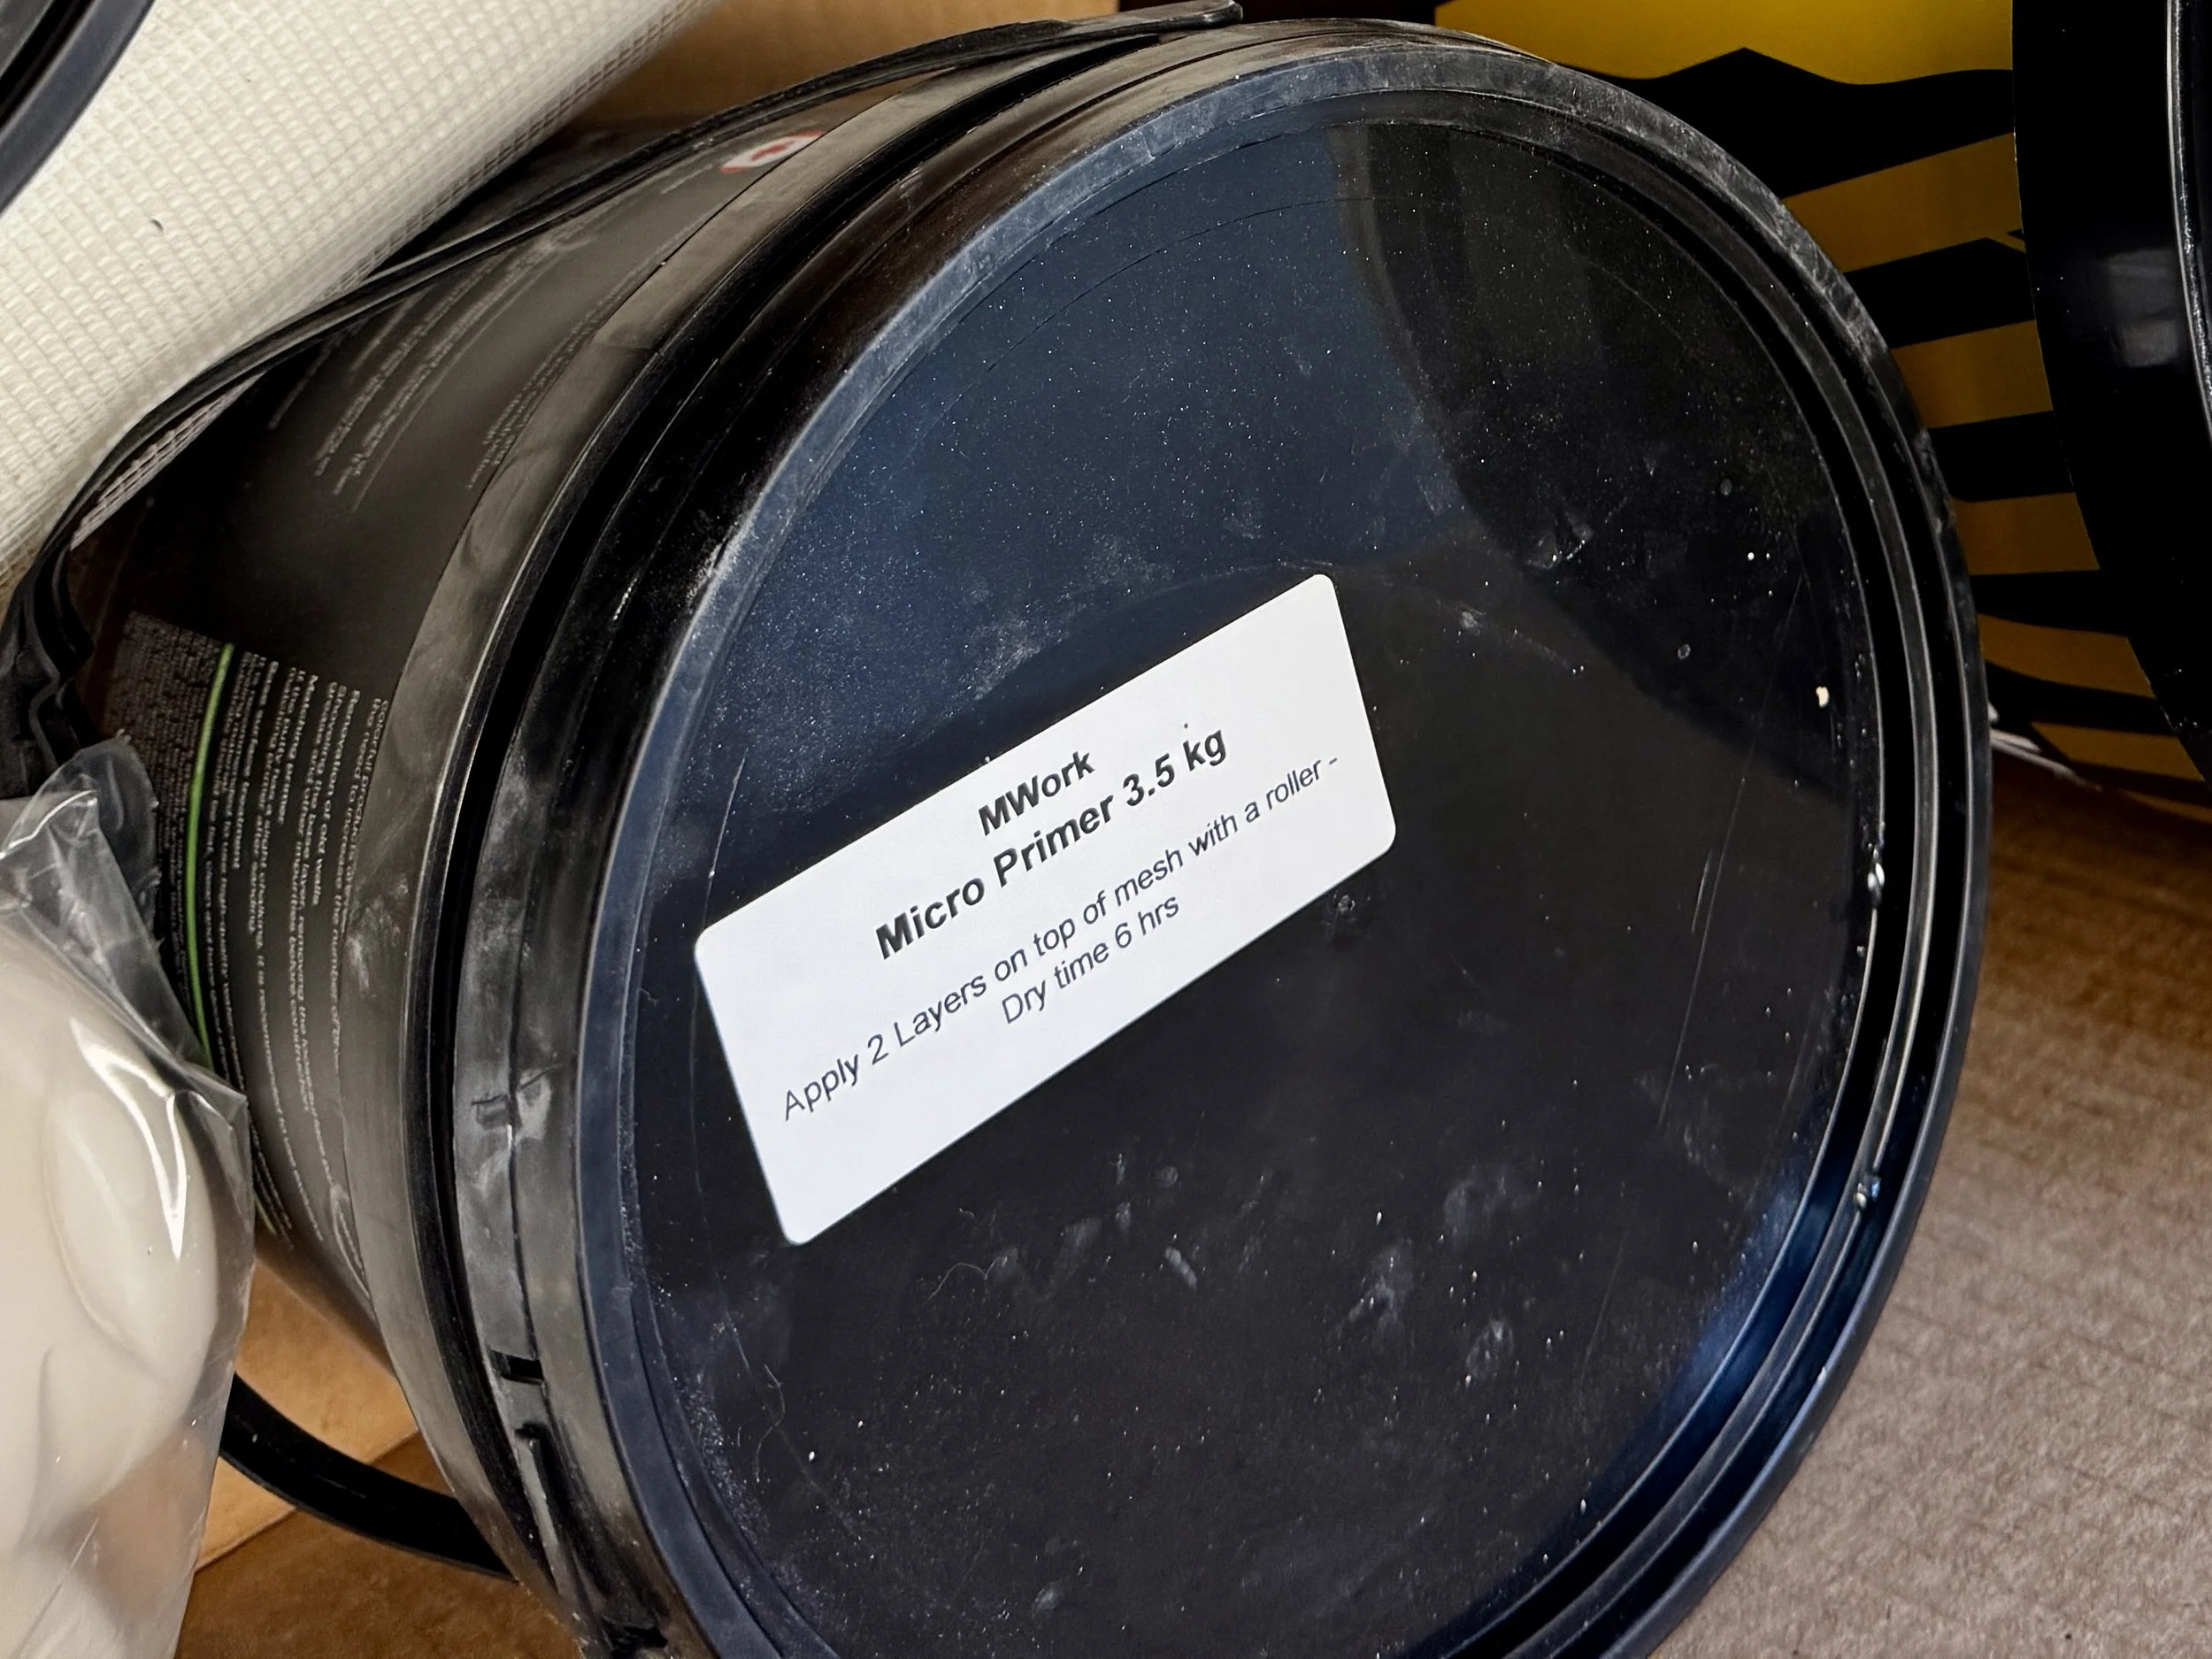
- Apply 1 even coat of Micro Primer using a cotton roller.
- You can place the mesh after the first coat — the wet primer helps the mesh stick to the surface.
- Let it dry for 5 hours.
- Mix Microcement powder with colored emulsion (pre-mixed with your chosen color).
- Use a 4:1:0.5 mixing ratio (4 parts powder, 1 part emulsion, and 0.5 part clean water).
- Stir thoroughly with a mixer drill for at least 5 minutes.
- ⚠️ Once mixed, apply within 24 hours and keep the lid closed to prevent hardening.
- Apply a thin, even layer (below 1 mm or about 1/25 inch) with a trowel.
- If you ordered Fine Texture Microcement, note that we provide a Base Texture (for the first layer) and the Fine Texture (for the second layer). Always apply the base layer first before moving on to the fine finish.
- Let dry for 8 to 12 hours, depending on the temperature and humidity of the area.
- Sanding is required after drying. Manual sanding is acceptable, but using a sander is recommended as it makes the job much easier.
- Use sandpaper or a sander with 80 to 200 grit to smooth the surface.
- ⛔ Avoid thick layers, as they may crack when dry.
- Repeat the same process as Layer 1:
- Mix at 4:1:0.5 ratio (powder : emulsion : water)
- Stir 5 minutes
- Apply thin layer (≤1 mm)
- Dry 8–12 hrs
- Sand after drying (hand or sander, 80–200 grit)
- Fine Texture: Second layer is Fine Texture only if ordered.
- Floor Kits: Always 3 layers. If Fine Texture is ordered → 1 Base (first layer) + 2 Fine (second & third).
-
(Only for Waterproof Kits)
- Apply with a cotton roller.
- Apply 2 layers for Waterproof protection.
- Let each layer dry for 4–6 hours.
- Mix the base with the Polyurethane (PU) hardener at a 4:1 ratio.
- Use immediately — pot life is short.
- Apply with a clean cotton roller.
- Apply 2 layers for full waterproof protection.
- Let each coat dry for 6–8 hours.
- Allow the full system to cure for 5 days.
- ⚠️ Do not place furniture, apply pressure, or expose to water or heavy foot traffic during this period.
- Avoid nailing, dragging, or scratching the surface until it is fully cured.
-
For any questions about the application, coverage, shipping, ordering or color,
- 📲 Text Max at 604-388-8396 (9am–7pm PST)
- 📧 Or email us at Sales@mwork.ca
If you follow each step with care and patience, you’ll have a stunning, modern surface to be proud of. Need help? We’re always here to guide you!
FAQ
- What is the minimum order quantity (MOQ)?
Our MOQ is just 10 square feet, ideal for small spaces, testing, or sample finishes. - Do you offer bulk discounts?
Yes! For contractor or volume pricing, text Max at 604-388-8396 or email Sales@mwork.ca. - Can I ask questions before or after ordering?
Absolutely, we’re here to help. For anything from ordering to application, Maz is available daily by text from 9am to 7pm PST. - Can I order different kits for the same bathroom?
Absolutely! If you need a Waterproof Kit for the walls and a Floor Kit for the floors, you can simply add each kit to your cart separately. Just select the type you need for each surface, and you’ll be good to go!
- No demolition needed, apply directly over tile, concrete, wood, or other solid surfaces.
- Seamless finishes, no joints or grout lines like tiles.
- Custom colors, choose from ready-made tones or request your own.
- DIY-friendly, save big on labor and enjoy doing it yourself!
- Durable & waterproof, ideal for bathrooms, kitchens, and floors.
- Modern, minimal look, perfect for contemporary interiors.
- Flexible texture options, from smooth to coarse.
- Is this suitable for DIY projects?
Yes! Our kits are made for DIY use. We include step-by-step printed instructions in every shipment. Enjoy the process; many customers find it satisfying and creative. - What surfaces can I apply it on?
You can apply Microcement to walls, floors, fireplaces, countertops, furniture, and more. Just make sure the surface is clean, stable, and flat. - Can I apply it over existing tiles or wood?
Yes, Microcement can go over tile, wood, concrete, or drywall. Just apply primer and mesh where needed. - What textures are available?
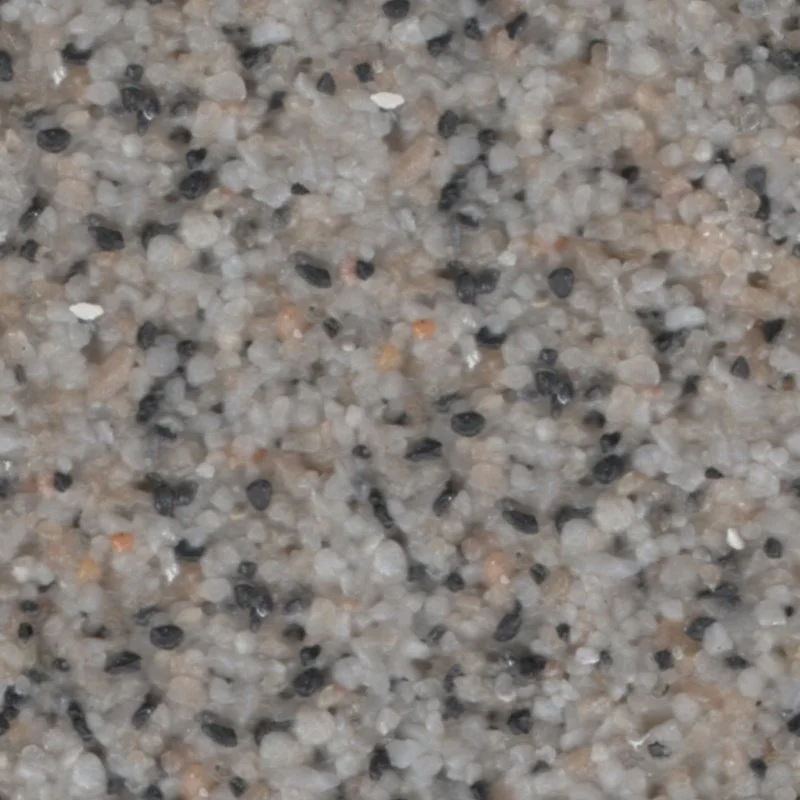
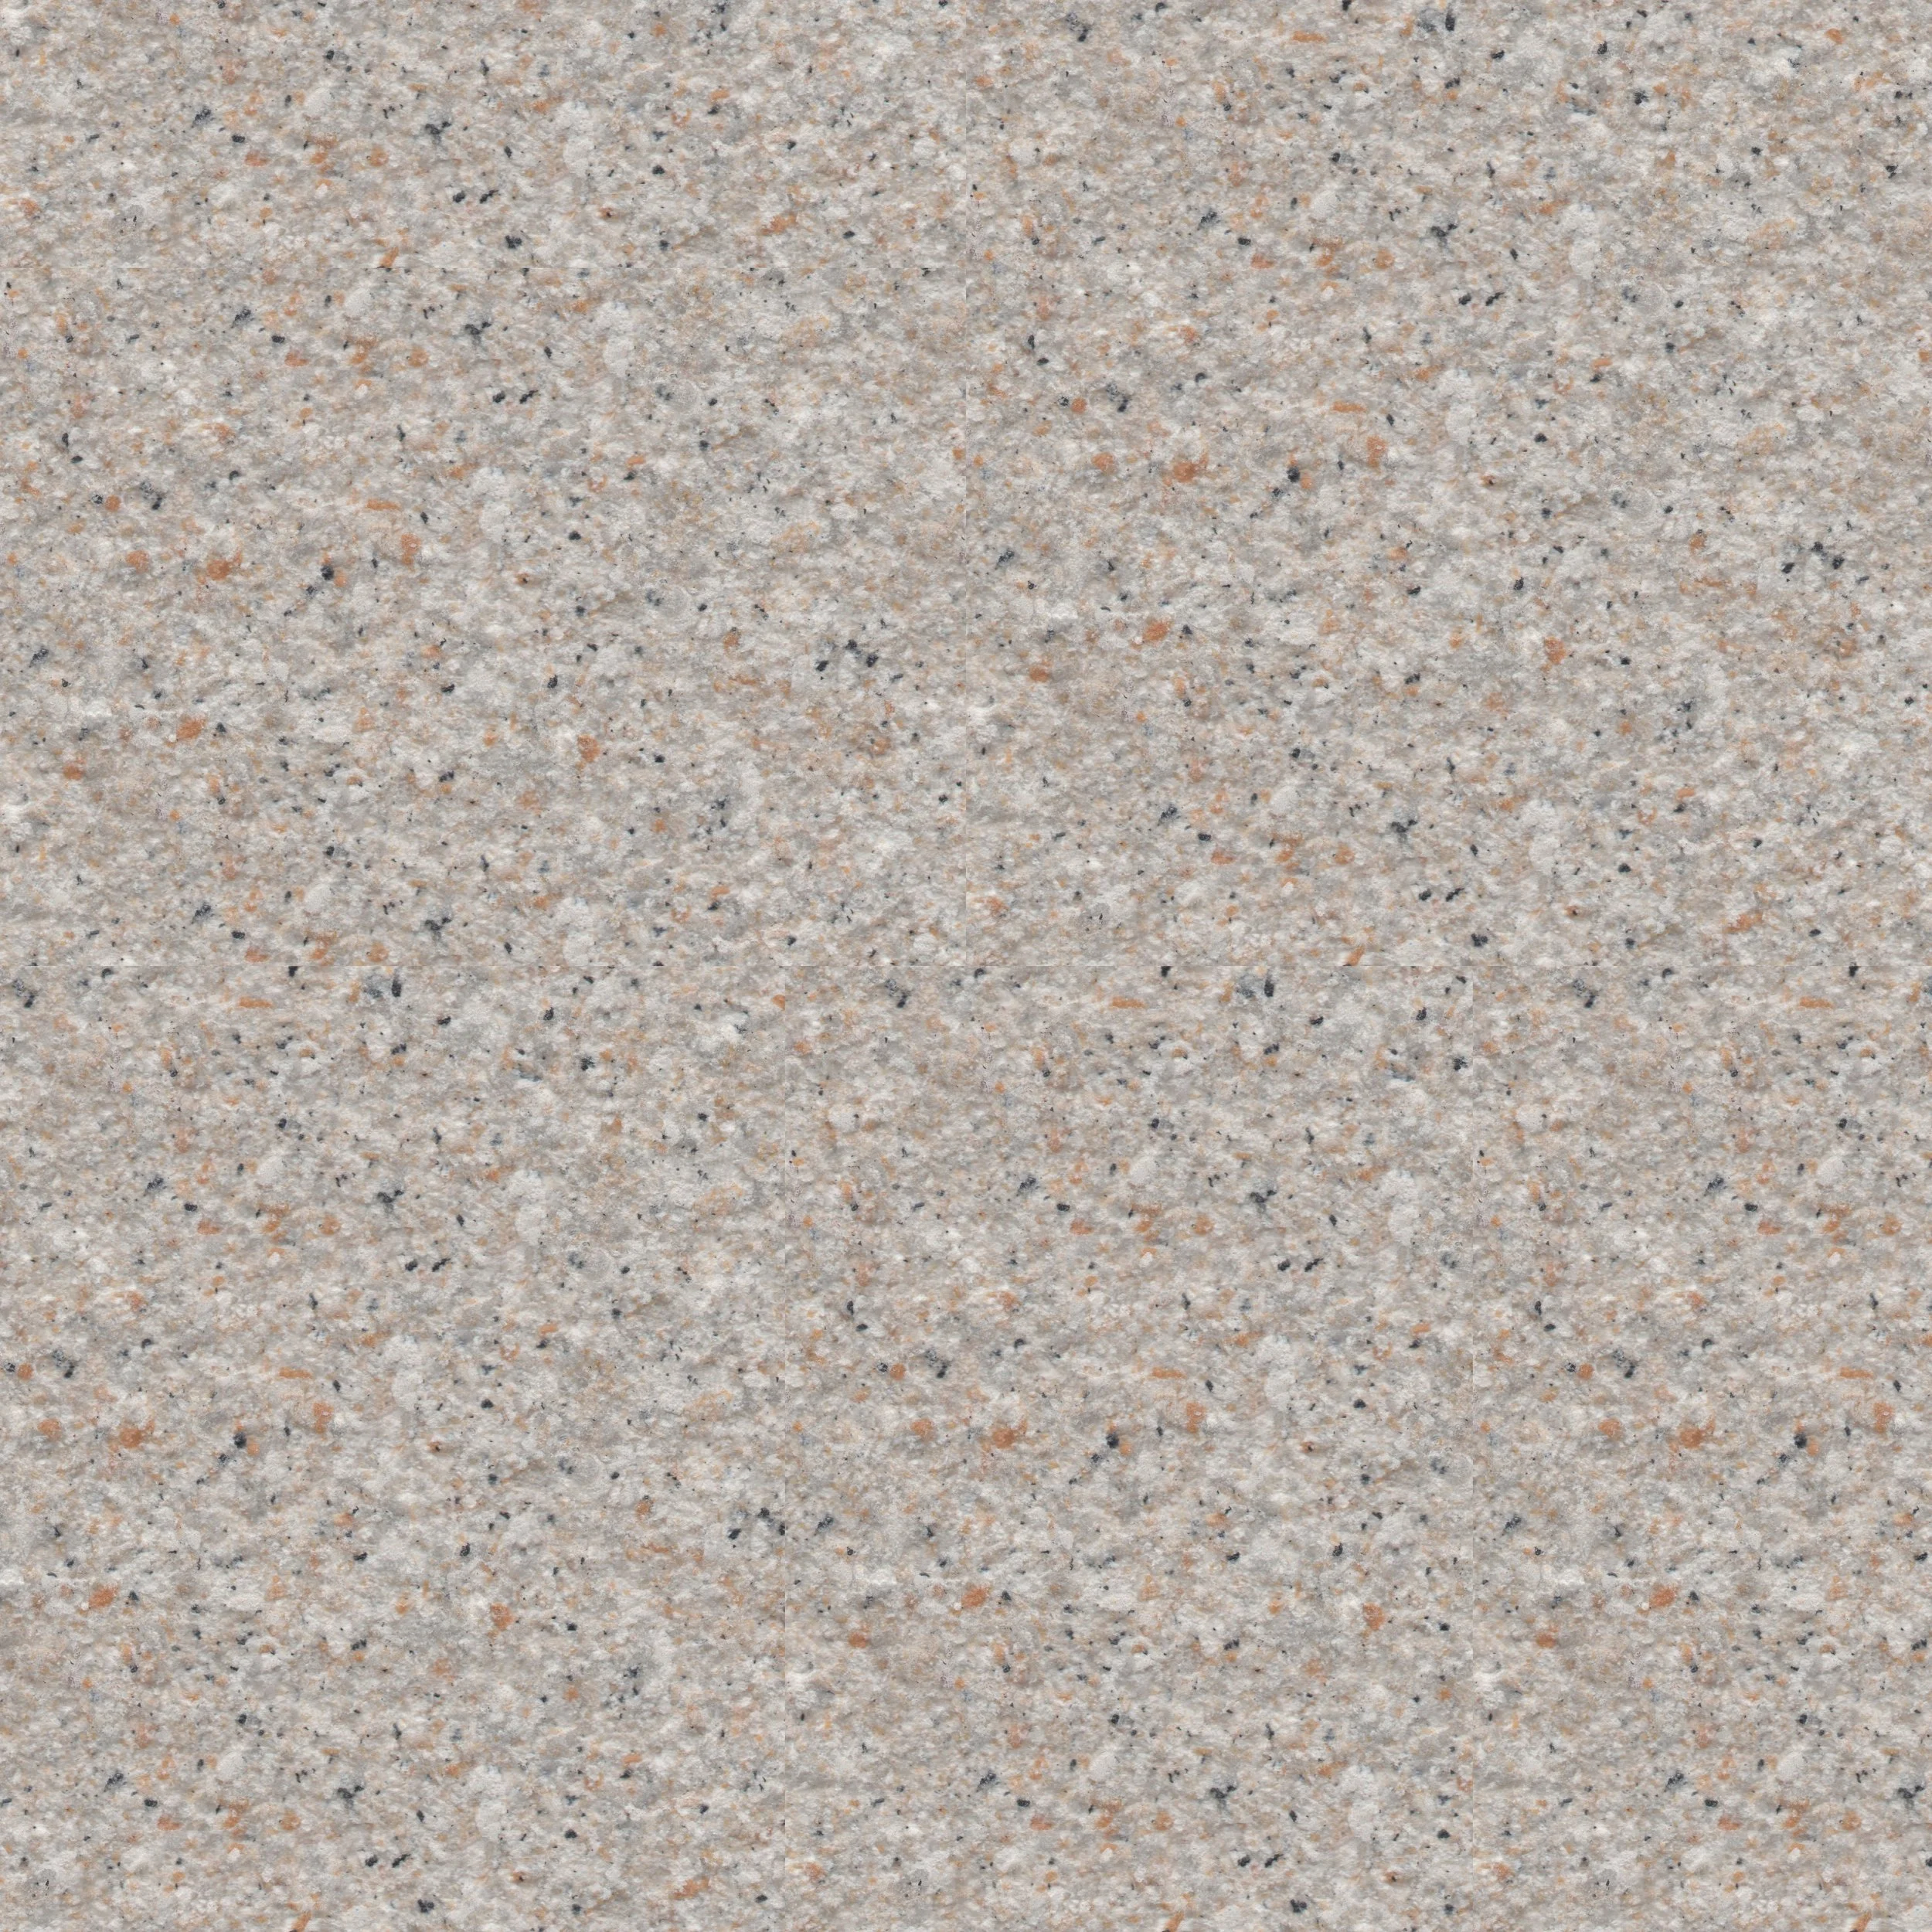
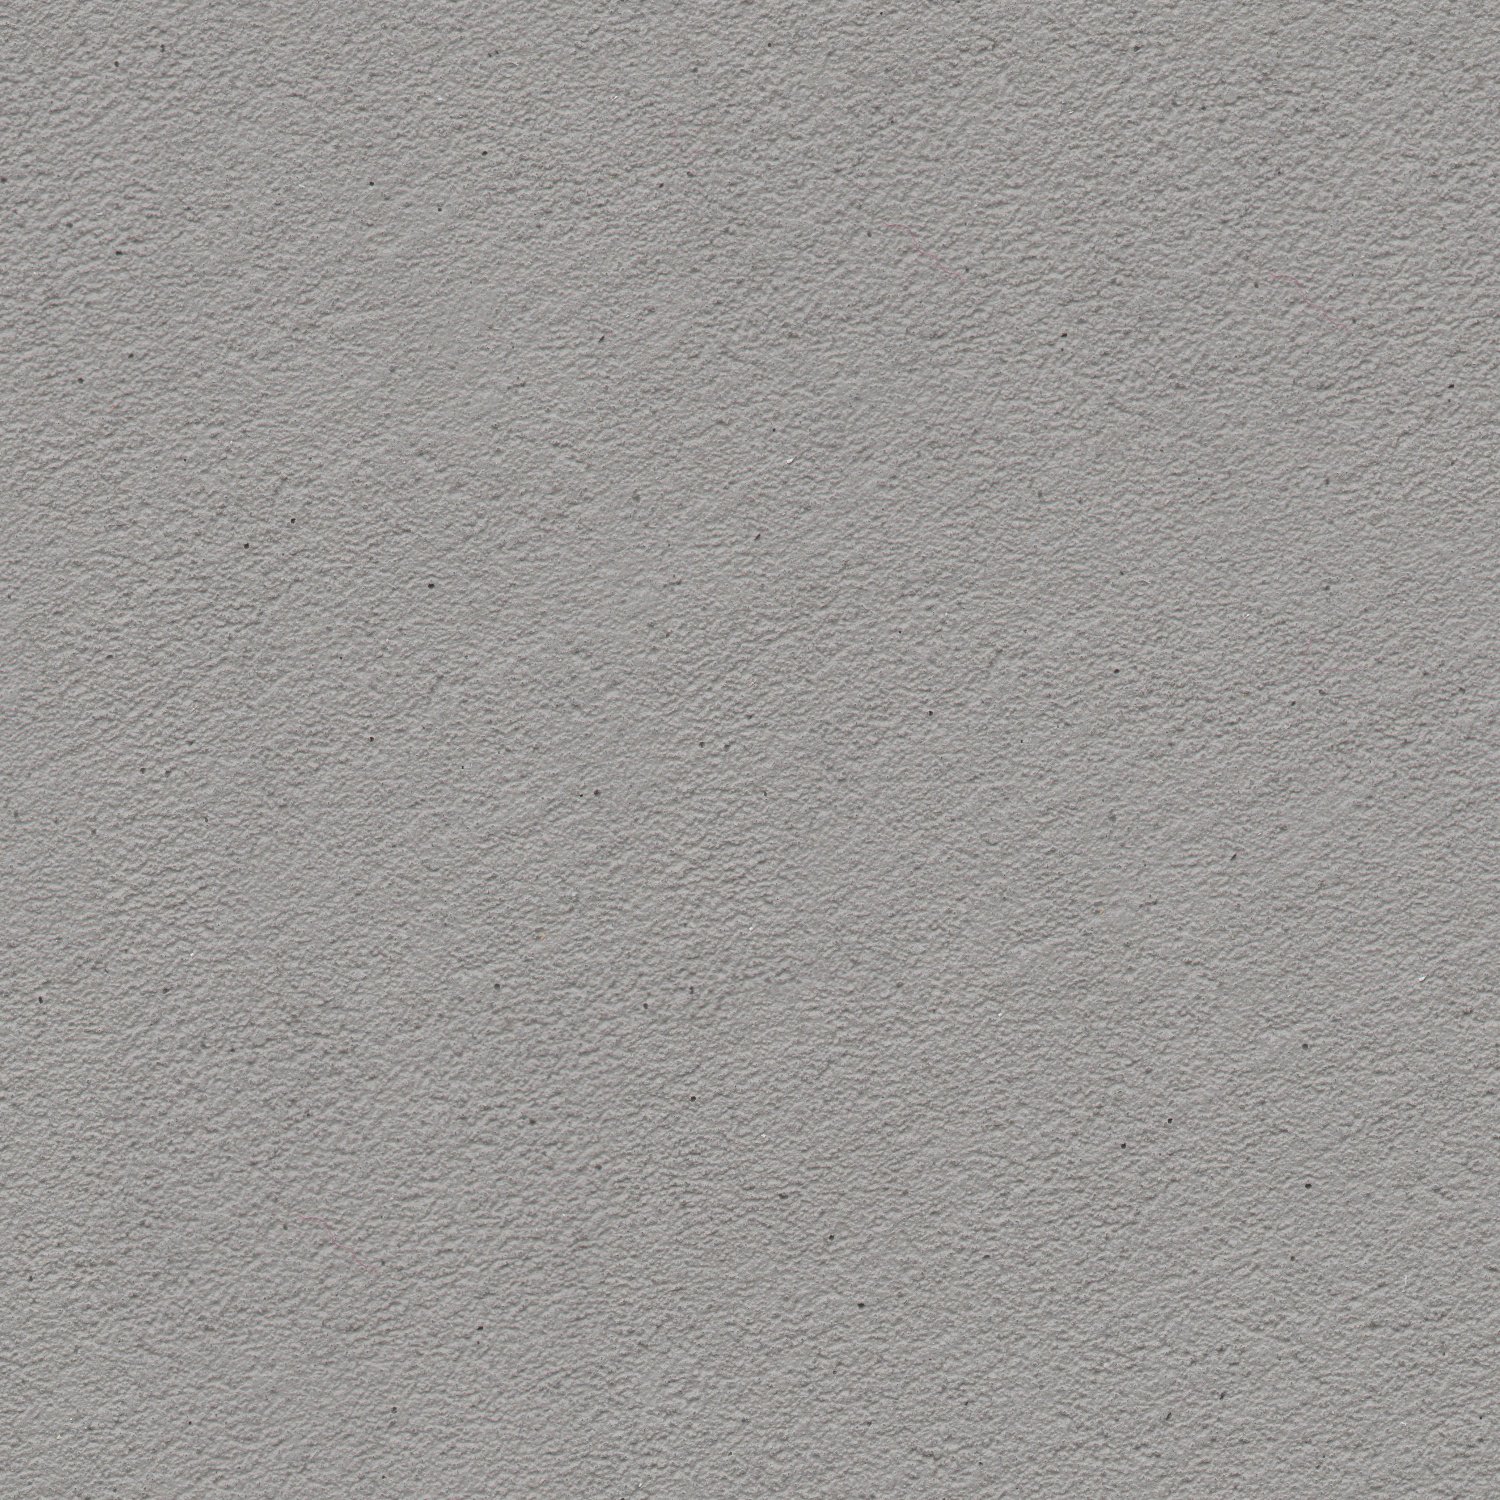
We offer three textures: Fine Sand, Medium, and Coarse — choose based on your finish preference.
- Do you offer professional installation services in Canada?
Yes, we do! We provide installation in Metro Vancouver. For other cities in BC, we can arrange a crew. We also have a team in Calgary. For other provinces, please get in touch and we’ll do our best to connect you with a professional installer. - How much does installation cost?
Installation typically ranges from $15 to $25 per square foot, depending on the project’s size and surface requirements. For larger projects, the cost per square foot can be lower. If you choose to go the DIY route with our kits, you can save significantly on installation costs. - How long does it take to apply microcement for a typical project like a bathroom or kitchen?
Generally, a full professional installation takes about 2 to 5 days, depending on the project size and complexity. A fireplace, for example, might take 2 days, while a bathroom can take longer due to additional layers like mesh, sealer, and topcoat. This can take up to around 5 days with drying times. The good news is, if you’re doing it yourself, you have the flexibility to take your time, many DIYers complete the project over a couple of weekends at their own pace, so there’s no rush.
- What color is the Microcement if I don’t select a color?
It comes in natural white when no color is chosen. - Can I request a custom color?
Yes! Simply text or email us a sample, color code, or reference image. We’ll match it as closely as possible. - How accurate is your color matching?
We aim for up to 80% color match accuracy, but lighting, surface type, and mixing techniques can affect the final shade.
- We offer three textures: Fine, Medium, and Coarse.
- Fine is smooth and modern (great for walls and fireplaces).
- Medium gives a subtle stone feel.
- Coarse adds a bold, rustic finish.
- Feel free to visit our showroom or ask Maz for more photo samples!
- How long does shipping take?
- Canada: 2–4 business days (mostly 2 days)
- USA: 5–7 business days
- We often ship same day for early orders.
- Can I pick up my order?
Yes, free local pickup is available in Port Coquitlam, BC for Metro Vancouver residents.
- How much area does 1 kg of Microcement cover?
About 8 square feet (two layers). - What comes in each kit?
Depending on the kit type (Standard or Waterproof), your kit includes: - Micro Primer
- Microcement Powder
- Colored Emulsion
- Mesh (if applicable)
- Sealer & Topcoat (Topcoat only for Waterproof kits)
- Printed DIY instructions
- How do I know how much to order?
Enter your total square footage on the product page.
- How do I clean microcement surfaces?
Use mild detergents and a soft cloth or sponge for routine cleaning. Avoid harsh chemicals, bleach, or scouring pads, as they can scratch or gradually wear down the protective sealer. - Can I put hot pots or pans directly on microcement countertops?
We do not recommend it. While microcement has good heat resistance, sudden temperature changes (like placing a hot pan directly on the surface) can cause thermal shock, potentially damaging the finish. Always use heat-resistant trivets or pads. - Can I cut directly on a microcement surface?
No. Sharp objects can damage the sealer and potentially expose the cement layer underneath. Always use a chopping board to protect both your countertop and your knives. - How do I prevent stains?
Our sealers offer strong protection, but microcement needs up to 28 days to fully cure after application. During this time, it is more vulnerable to staining. - Clean up spills quickly
- Avoid prolonged exposure to acidic substances (lemon, vinegar, wine, etc.) as they can etch the surface
- If staining occurs, use a specialist degreaser and consider resealing the affected area
- Can I return my kit if I ordered too much?
Because kits are color-customized and moisture-sensitive, returns are not accepted. We recommend ordering slightly extra to account for waste. - Is it safe to use at home?
Yes, but always follow these precautions:
Wear gloves, mask, and goggles
Keep out of reach of children and pets
Work in a ventilated area
Do not dispose of product in household drains
Wash hands thoroughly after use
- Are your Microcement products tested for indoor air quality and emissions?
Yes, our Microcement products are developed and tested in accordance with internationally recognized indoor air quality standards to ensure safety and low emissions. - We reference and align with the following standards:
- ASTM D5116-06
Standard Guide for Small-Scale Environmental Chamber Determinations of Organic Emissions From Indoor Materials/Products. This standard provides guidance on measuring organic compound emissions from indoor materials using small environmental chambers. - ISO 16000-3:2011
Indoor air – Part 3: Determination of formaldehyde and other carbonyl compounds – Active sampling method. This standard outlines how to measure formaldehyde and similar compounds in indoor and test chamber air. - ISO 16000-6:2004
Indoor air – Part 6: Determination of volatile organic compounds (VOCs) – Active sampling with Tenax TA®, thermal desorption, and GC-MS/FID. This is a method for identifying and quantifying VOCs released from building materials and coatings.
- ASTM D5116-06
What is microcement?
Microcement, also known as Decorative Concrete, Micro Concrete, and Microtopping, is a trending material in modern architecture and interior design. This versatile coating is ideal for walls, floors, ceilings, countertops, and any other surface, offering a seamless, durable, and high-end finish that enhances any space. Available in both waterproof and non-waterproof options, microcement is ideal for bathrooms, kitchens, living areas, fireplaces, accent walls, commercial spaces, and more! Microcement is DIY-friendly, so it’s a great way to save on reno costs. MWork kits come with everything you need and simple instructions to get started. Order now based on your coverage area (sq ft)!


Made with MWork Microcement: Customer DIY Gallery